View menu
How big the picture is, how much border it shows, and how it is drawn: the colors, a shader, anti-flicker. The quick switches are in the View menu; all the settings are on the Video page of Options (see Video page). The menu also shows and hides the menu bar, the toolbar, the status bar, the virtual keyboard and the input overlay.
Size
View > Size has x1 to x6: each pixel of the machine is drawn as a square of 1 x 1 to 6 x 6 screen pixels. The scale is always a whole number, so every pixel of the picture is the same size and nothing is blurred. At x1 the picture is drawn as it is, without a shader.
The window’s size follows from the scale and the border size, and changes when either of them changes.
The window can also be maximized, or resized by dragging its edges or snapping it to half of the screen. At any size other than its scale’s, the picture is fitted to the window as in fullscreen: as big as fits, with more border in the room it leaves, up to the full border, and black or a side fill past that (see Fullscreen). A size picked in View > Size brings back the scale’s size with its whole pixels; a maximized window restored gets the size it had before. On macOS the green button is fullscreen; Option-click on it maximizes the window.
The window’s size is remembered: if the program is closed maximized, it starts maximized next time, on the same screen; closed at a size of its own, it starts at that size.
Border
The Border slider in the Picture group of Options > Video sets how much border is shown around the screen. The label beside it names the size and gives it in machine pixels:
Size |
Picture |
|---|---|
no |
256 x 192, the screen alone |
tiny |
272 x 208 |
small |
288 x 224 |
medium |
320 x 240 |
full |
352 x 288 |
overscan |
the whole frame the machine draws |
View > Border has the same sizes, taken at once, with the machine running or paused.
The setting is the same for every machine, but some machines need more of their frame than others: ATM Turbo 2+ and ZX Evolution (BaseConf) show at least medium, the ZX Spectrum Next at least full, and ZX Evolution (TSConf) always shows its whole frame - the slider and View > Border are grayed out there. On the others, View > Border grays out the sizes smaller than the machine shows.
Fullscreen
View > Fullscreen fills the whole screen with the picture. In fullscreen the picture is fitted to the screen rather than kept to whole pixels. How to reach the menu from there is in Fullscreen.
View > Keep Aspect Ratio matters in fullscreen and in a window that is maximized or resized:
ticked - the picture keeps its shape, and the room it leaves - at the sides of a wide screen, above and below it in a tall window - is filled as View > Side Fill says;
not ticked - the picture is stretched to fill the whole screen or window.
View > Side Fill sets what fills the room the picture leaves free. The first three show more border there first, up to the full border (with overscan chosen, as far as the machine’s frame goes), so a border that flashes is seen big; the fill takes the room past it:
Border + Black - black past the border, the default;
Border + Stretched Edges, Border + Mirror - the fill past the border, as below.
The other three keep the border at the size the Border slider sets, and the fill starts at its edge; with no border, at the edge of the screen itself:
Black - black bars;
Stretched Edges - the picture’s outer rows and columns carried outwards, blurred and dimmed, like a glow;
Mirror - the picture as it is shown, through the shader and with a curved screen’s black corners too, reflected at its edge, blurred and dimmed.
While the window is resized, the border grows with it smoothly, its edge cut at the window’s edge rather than a whole dot at a time.
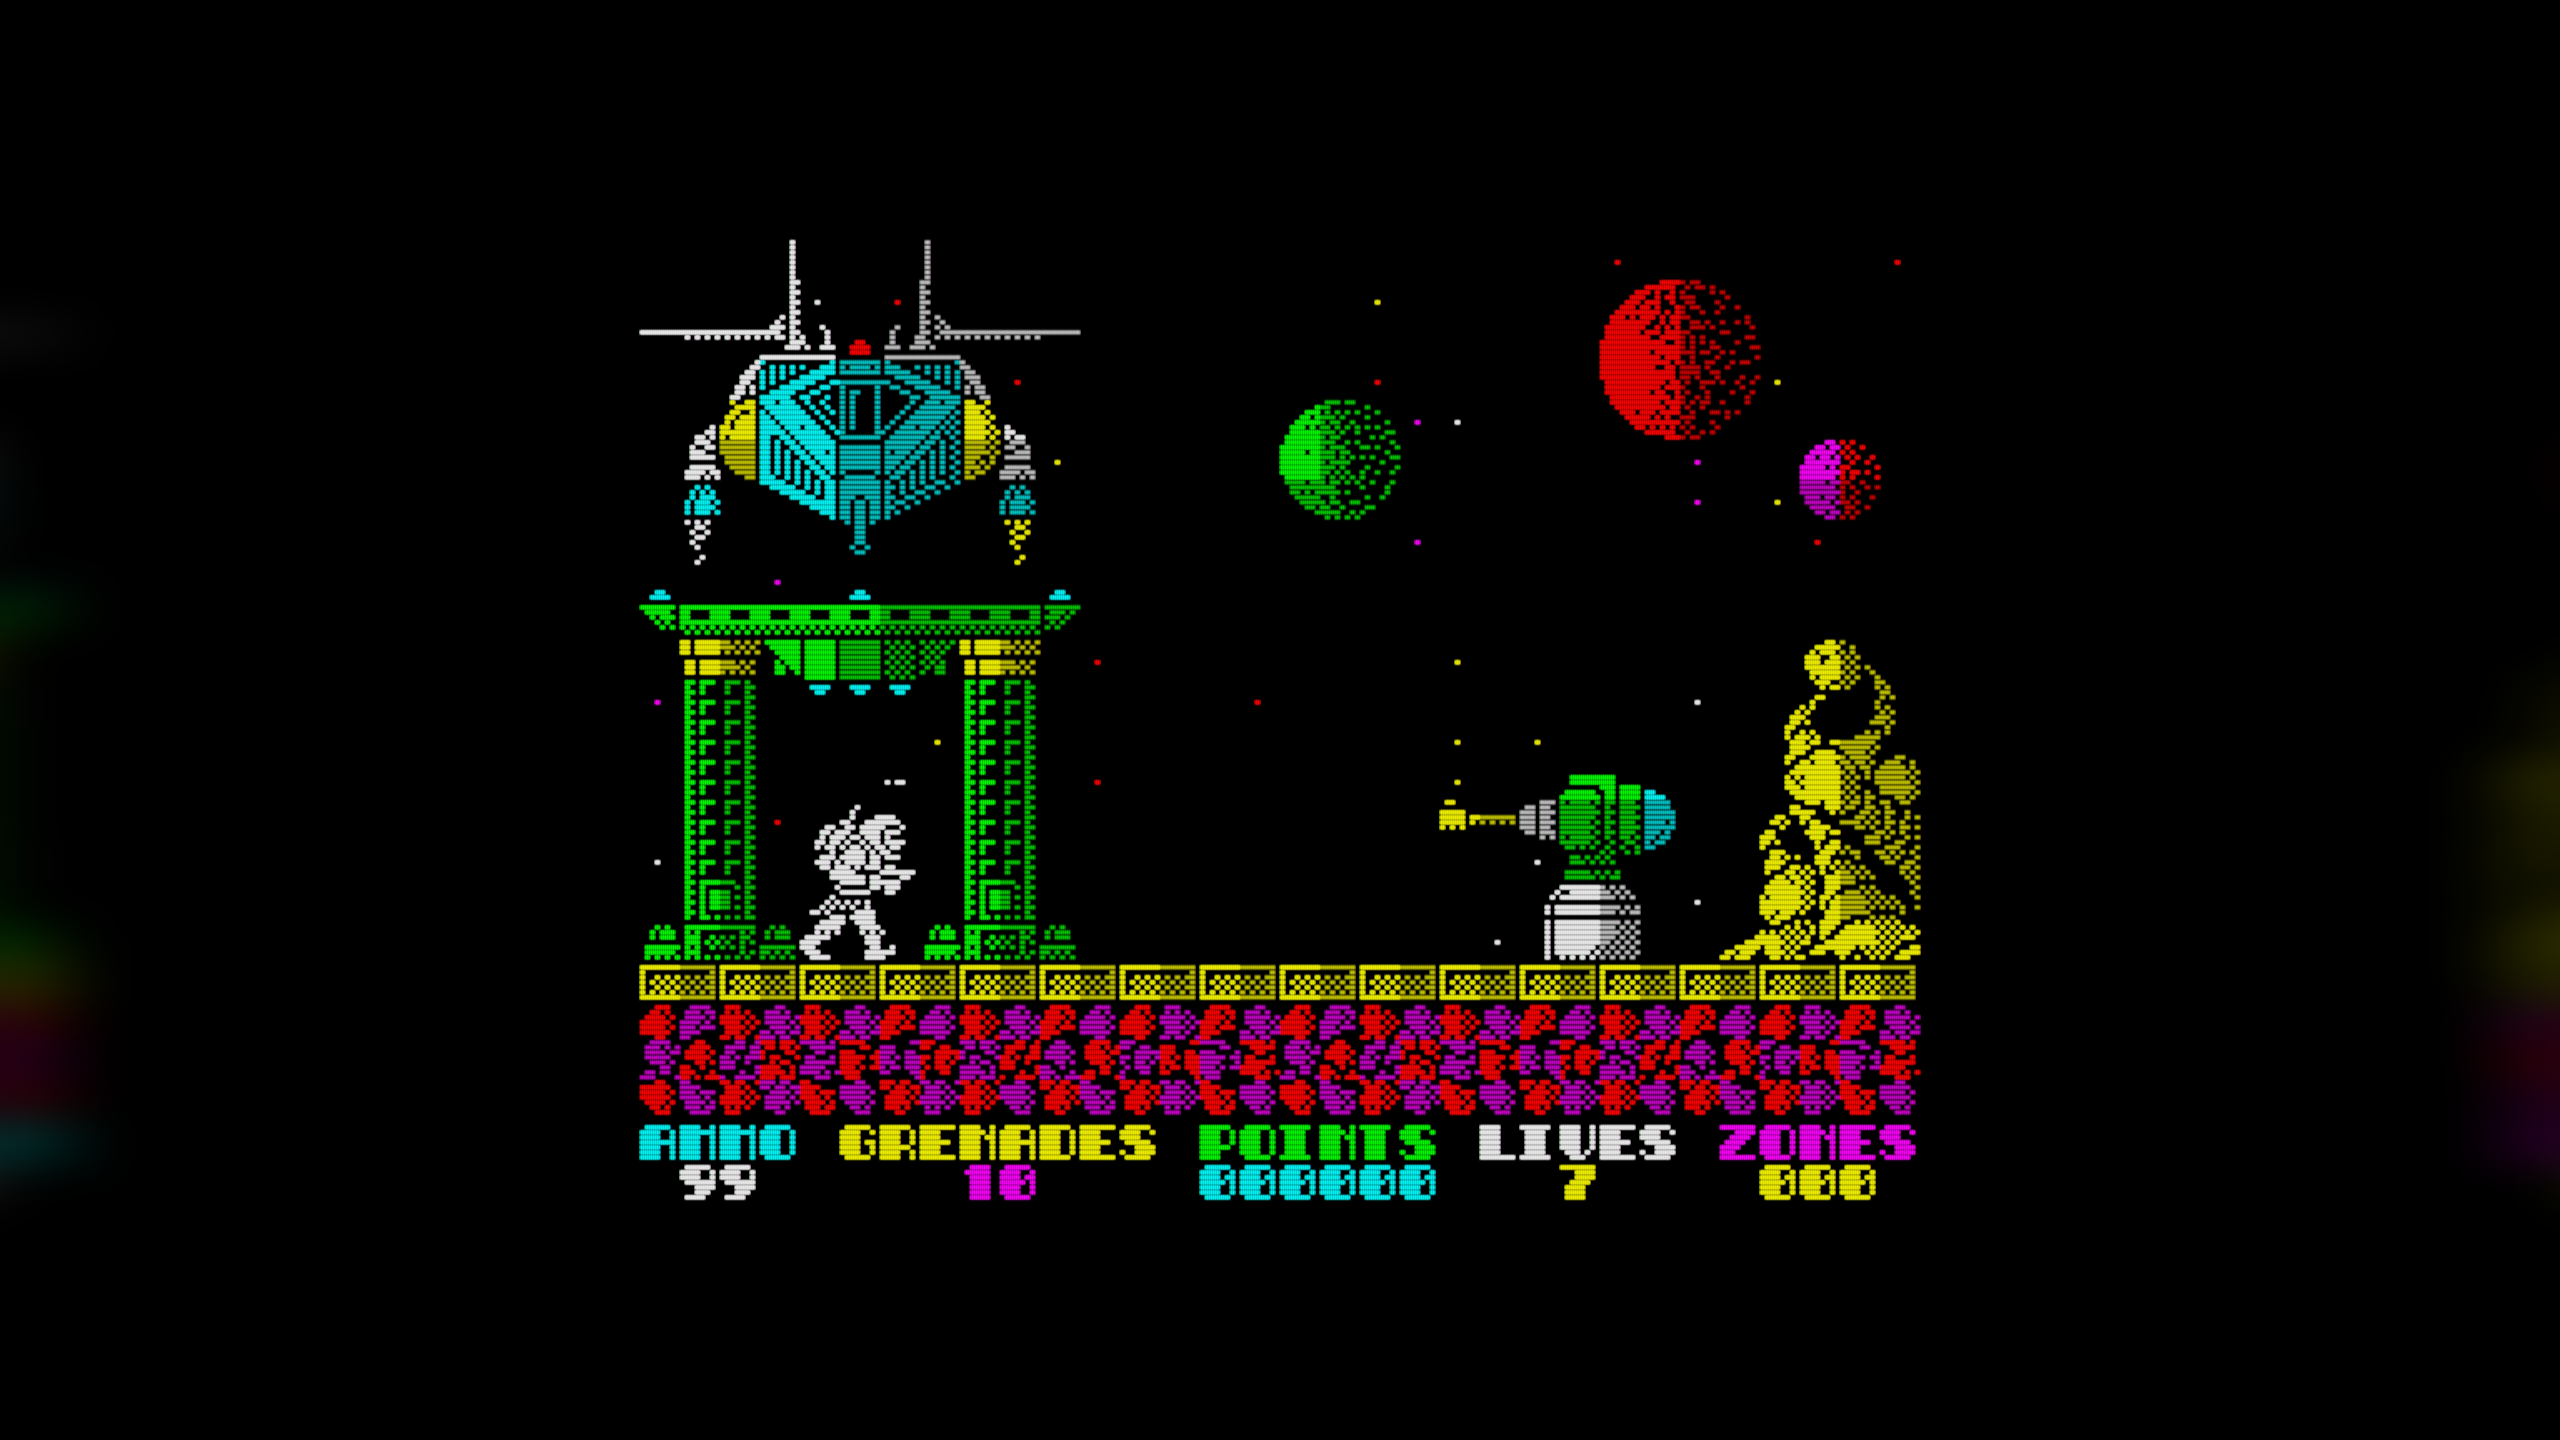
It is the same setting as Side fill on the Video page of Options, where its blur and brightness are set too (see Side fill). Without OpenGL only Border + Black and Black can be picked.
Fullscreen is remembered: if the program is closed in fullscreen, it starts in fullscreen next time.
Shaders
A shader changes the look of the picture after it is drawn: scan lines, the mask of a CRT tube, a curved screen, the blur of a TV signal. Pick one in View > Shaders, or in the Shader list of Options > Video; None turns it off. The program comes with twenty shaders built in, and one of them is on by default.
The shader is not used at x1, where there is no room for its effect. With None,
a picture that is not a whole number of screen pixels per dot - in fullscreen, in a
maximized window - has only the seams between dots softened, so every dot keeps the same
width and the picture stays sharp. When the
computer’s graphics cannot run shaders, the list holds None only. With no usable OpenGL at
all, on an old graphics chip, the picture is drawn without it, and the window says so at
the start; --no-gl does the same on purpose.
Your own shaders go in the shaders folder of the settings folder, as .txt files.
A file there with the name of a built-in shader replaces that shader. The file holds two
parts in GLSL: a line vertex: followed by the vertex shader, and a line fragment: followed by
the fragment shader. The picture comes in as the texture rubyTexture, with its size in
rubyInputSize and rubyTextureSize; the size of the picture on the screen is in
rubyOutputSize. When a shader is picked, the message shader compiled appears on the
picture. If the shader does not work, the message is shader error, and the picture is
shown without a shader.
The Reload Shader action reads the shader file again, so you can see a change you have just saved. It has no key by default; give it one on the Hotkeys page of Options (see Hotkeys page).
ZX Palette
The 16 colors of the ZX picture can be taken from several palettes. Pick one in View > ZX Palette, or in the Palette list of Options > Video. Xpeccy+ is the built-in palette; the others are listed by their file names, without the extension.
To change the colors of a palette, pick it in Options > Video and click the
 edit button beside the list. The Palette Editor shows the 16 colors in four
rows: the eight normal colors in the top two rows, the eight bright ones below them. Click a
color to choose another one, then click OK. The change takes effect only after
Apply or
 OK in Options;
 Cancel there
discards it. The
edited palette is saved under the same name in the
palettes folder of the settings folder
(see Where the settings are), and from then on
that file is used instead of the bundled one. The built-in Xpeccy+ palette cannot
be edited: the edit button is grayed out for it.
When a bundled palette has been edited, a second button,  , appears beside the
edit button. After asking, it deletes your edited copy, and the palette is again the one
that came with the program.
A palette of your own is a text file in the same palettes folder: 16 lines, one color
on each, written as #RRGGBB - black, blue, red, magenta, green, cyan, yellow, white,
then the same eight colors bright. A file with fewer than 16 colors is not used; the
built-in palette is shown instead.
Gray scale in the Picture group of Options > Video draws the picture in shades of gray.
A machine with ULA+ can show 64 colors when a program asks for them. ULA+ is switched on with ULA plus in the machine’s advanced settings (see Advanced settings).
Virtual Keyboard
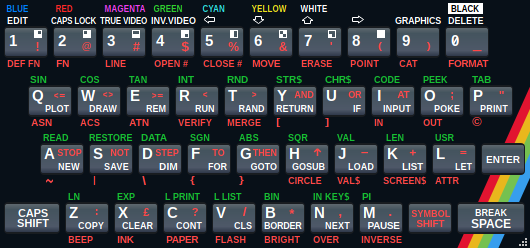
View > Virtual Keyboard > Show (Alt+K) opens a picture of the Spectrum keyboard. The keys that are pressed on the machine light up, whether they come from the PC keyboard, a joystick on keys or a click here.
Left button on a key - holds the key down while the button is held. On Caps Shift and Symbol Shift it locks the key down instead, and a second click releases it: click Caps Shift, then a digit, to get a cursor key.
Right button on a key - locks the key down; a second right click releases it.
Middle button on a key - releases all the keys.
A key takes clicks on itself and on the words over and under it. Right-click between the rows or beside the keys for its settings; they are also under Show in View > Virtual Keyboard and in the Virtual Keyboard submenu of the picture’s right-click menu, which is easier with the 128K’s close-set keys:
Zoom x1, Zoom x1.5, Zoom x2, Zoom x3 - the size of the window. You can also drag its edge; the picture keeps its shape and is drawn sharp at any size.
Skin - 48K (Classic), 48K (White), 128K (Classic), 128K (White), Next (Black), Next (White), Next (Magenta), Klava or Klava (Washed); one picked here stays whatever the machine. Klava is the 58-key keyboard of many clones of the early 1990s, worn, with some caps crooked and the cream ones yellowed; Klava (Washed) is it clean. By machine, on by default, shows the Next keyboard on the ZX Spectrum Next, the 128K one on a 128K, +2, +2A or +3, the 48K one on a 48K and Klava on the clones (Pentagon, Scorpion, Profi, ATM, ZX Evolution and the rest), in the tone picked last: Klava (Washed) if it was picked; only the Next has a Magenta one, the others show their classic one.
Dock under the emulator - the keyboard loses its frame and sits under the main window, as wide as the main window, and moves with it. In fullscreen, or when there is no room below, it lies over the bottom of the picture.
Highlight the key under the pointer - the key the mouse is over lights up as a pressed one does, but dimly, so you can see which key a click will take. On by default.
Release all keys - releases every key.
Keys typed while the window is in front go to the machine. Esc closes the window. Not docked, it opens again where it was left.
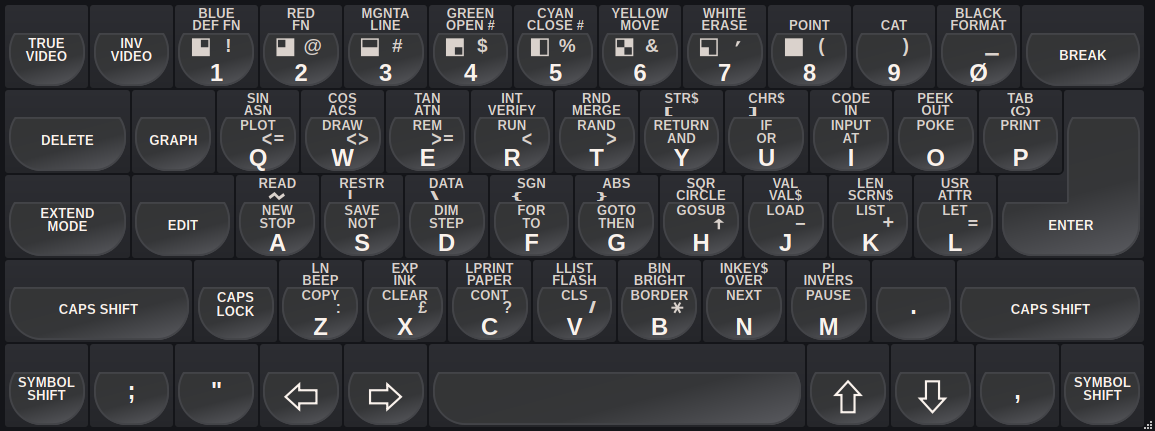
On the 128 keyboard the extra keys (True Video, Edit, Delete, the cursor keys and the rest) press Caps Shift or Symbol Shift together with a key, as on the real one; a right click locks such a key whole.
Such a key lights up while it is held here, or while the PC key that makes it is held - Backspace for Delete, the arrows for the cursor keys, and so on. The two keys it presses light up dimly. Pressed one by one, they light up fully and the extra key stays dark. On the 48K keyboard, which has no such keys, the two keys light up fully. Of the two Caps Shifts and the two Symbol Shifts only one lights up: the one you clicked, otherwise the one on the side of the PC key that holds it (the right Shift lights the right one), otherwise the left one.
For layout authors: a file zx-black.json, zx-white.json, zx-128.json,
zx-128-white.json, zx-next.json, zx-next-white.json, zx-next-magenta.json,
zx-kopir.json or zx-kopir-worn.json in the vkbd folder of the settings folder (see
Where the settings are) is drawn instead of the
built-in skin of that name, and drawn again each time the file is saved. A file of any
other name there, zx-<name>.json, is a skin of its own: it is in the Skin menu under
that name, after the built-in ones.
Input Overlay
View > Input Overlay draws the keys, the joystick and the mouse over the picture, lit while they are pressed. It is marked EXPERIMENTAL in the menu.
Show - the overlay on or off.
Keyboard, Joystick, Mouse - which parts to draw: the 40 Spectrum keys, the Kempston joystick with its fire buttons, the Kempston mouse with its buttons and wheel. A joystick or mouse the machine does not have is drawn faint.
Source - where the overlay takes the input from: Auto: replay reads, host otherwise - what the program read while an RZX replay plays, and what you press the rest of the time; What the program reads - only the keys and buttons a program has read; What is pressed on the host - everything you press, read or not.
Position - Bottom left, Bottom, Bottom right (the default), Top left, Top or Top right.
Size - Small, Medium or Large.
Opacity - from 40% to 100%.